TataSteel – Image Recognition of Shape Defects in Hot Steel Rolling #SWI2012
Tata Steel is the 2nd largest steel producer in Europe with major manufacturing sites in the UK, the Netherlands, Germany, France, and Belgium. The IJmuiden site in The Netherlands hosts a fully integrated production process in which coils of coated steel strips are produced out of raw materials such as iron ore and coal.
Hot Strip Mill
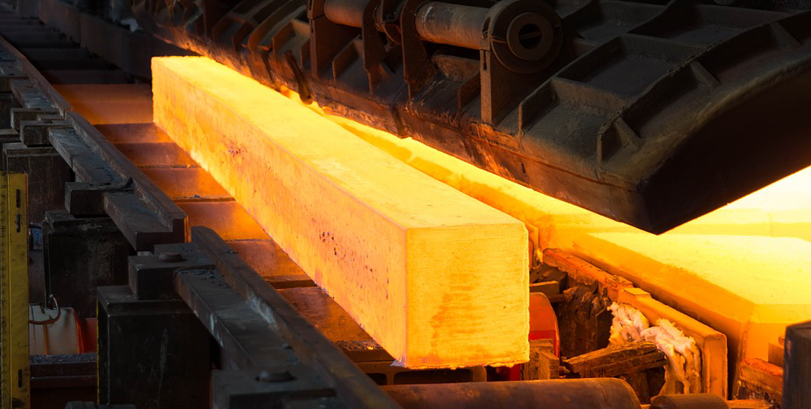
One of the key installations on the site is the Hot Strip Mill. Slabs with a length of 10 m and a thickness of 20 cm, weighing over 20 tons, are heated up to a temperature of 1200 ºC. Along a trajectory of about half a kilometer, they are rolled in consecutive steps into strips of up to 1000 m long and 2 mm thin. After the final reduction step, where the strips can reach a speed of 20 m/s, they are cooled to 700 ºC and coiled in less than 60 seconds. In this way, 250 000 coils leave the hot strip mill each year for further processing and finally end up in construction, in lifting & excavating machines, in consumer goods such as white goods (refrigerators and stoves), and in the automotive and packaging industries.
Tail Pinching
The final reduction steps, where the strips can reach a speed of over 20 m/s are very critical. Any errors in the gap settings of the mill or other process errors can lead to defects in the shape of the strip. Especially at tailing out of the strip, such shape defects may lead to pinches, damaging the strip as well as the rolls.
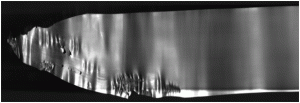
Tail pinching is clearly visible by ripples in the strip. In some case, the strip surface is torn apart. It is not exactly known in what circumstances such pinches occur. To determine a statistical relation, and ultimately a causal relationship between certain process conditions and pinching, it could be very useful to detect these pinches automatically. Once the mechanism is better understood an online detection system might also be used to modify the process in order to prevent more pinches.
Commercially available surface inspection systems need to be trained with categorized images. Once trained the system computes the likelihood that a certain defect corresponds to a certain category on the basis of their dimensions, orientation on the strip surface, and the grey scale distribution. In this way simple defects are detected quite successfully. More complex defects are often not classified correctly. This also holds for pinches.


